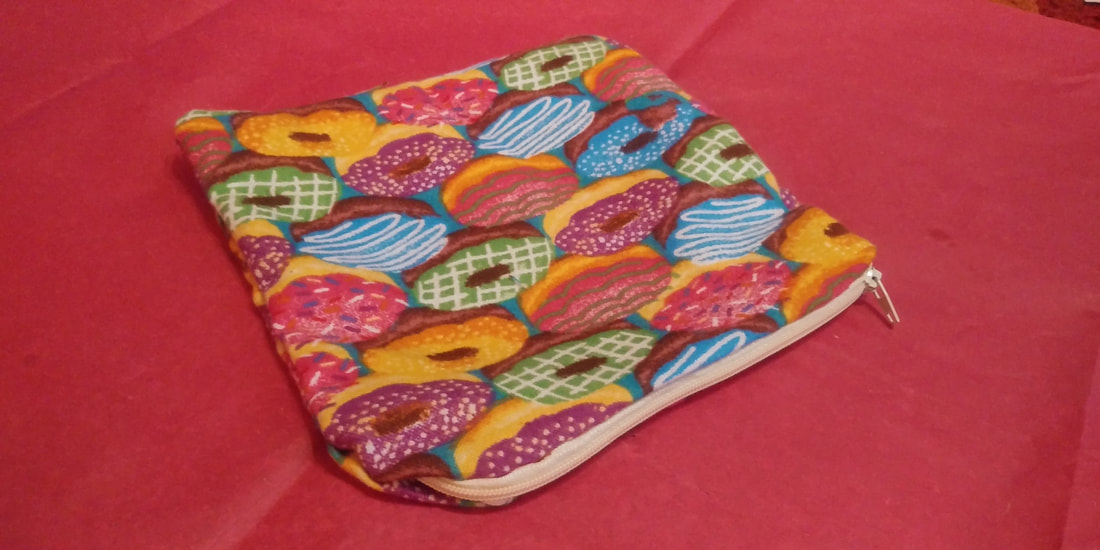
Create Your Own Accessory Pouch!
Create an accessory pouch to hold pencils, snacks, trinkets, or whatever you wish! Perfect for light-weight items.
This craft activity has been divided into a 2-day project, however, you may complete it all in one day, if you wish! If you have ANY questions about making this craft with your child, contact Avilda at [email protected] for an immediate response. Happy creating!
This craft activity has been divided into a 2-day project, however, you may complete it all in one day, if you wish! If you have ANY questions about making this craft with your child, contact Avilda at [email protected] for an immediate response. Happy creating!
Day One
Step 1
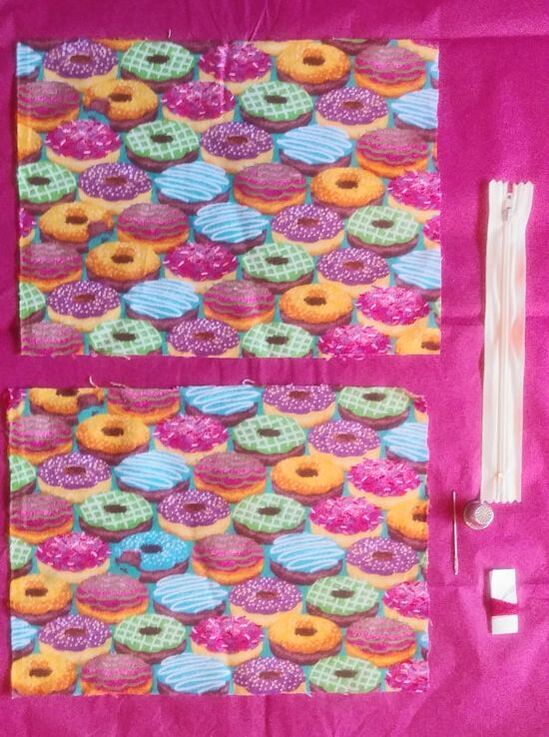
Layout your materials as shown below.
You should have two fabric rectangles (sizes and prints may vary), a zipper, a thimble to protect your fingers, sewing thread, and a large eye needle.
You should have two fabric rectangles (sizes and prints may vary), a zipper, a thimble to protect your fingers, sewing thread, and a large eye needle.
step 2
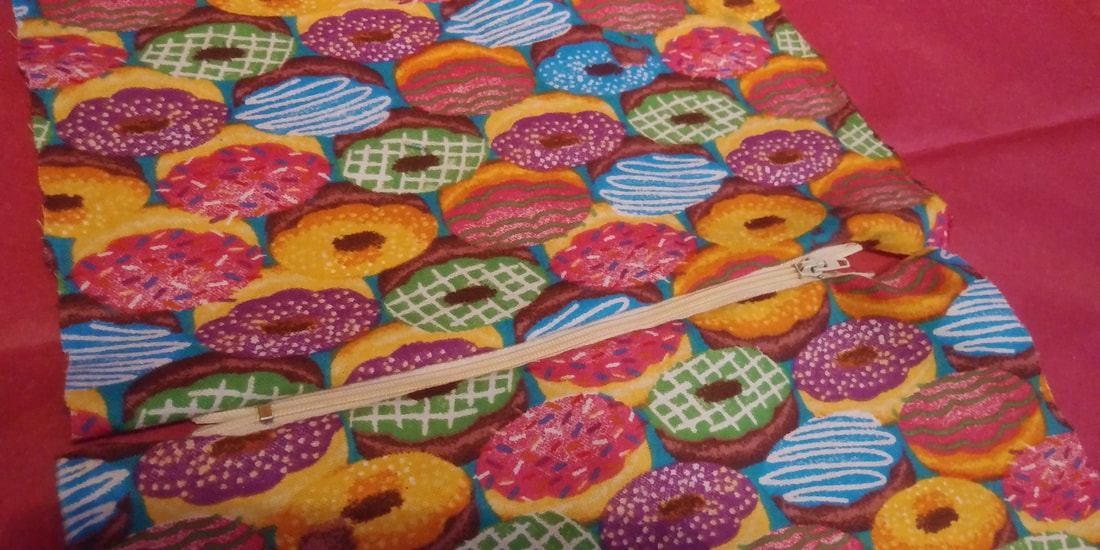
Lay one piece of fabric in front of you.
Make sure the pattern is not upside-down!
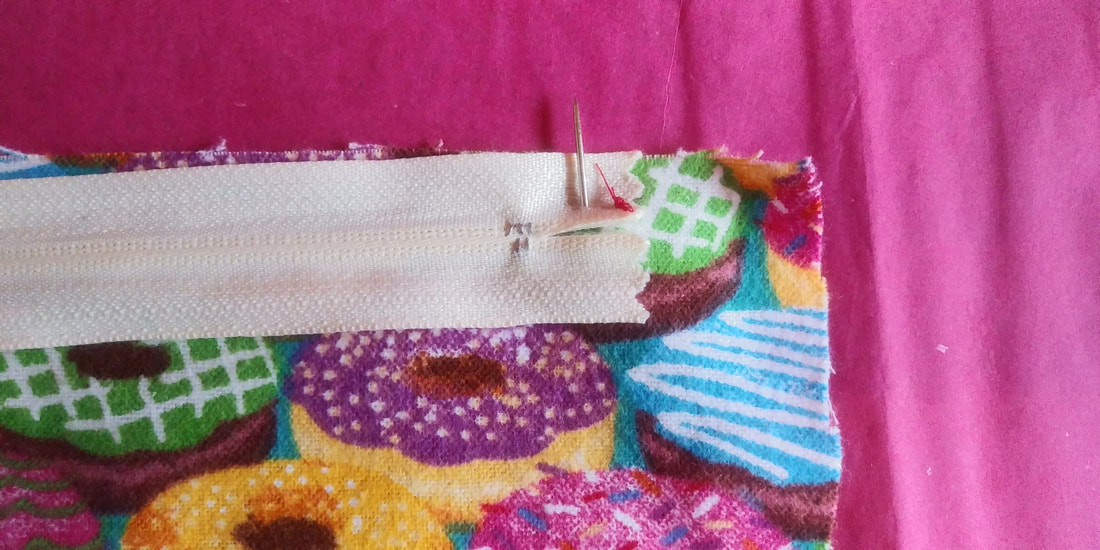
Take your zipper and place it face-down in the middle of the fabric.
Align the top edge of the zipper with the top edge of the fabric, as it appears below.
Make sure the pattern is not upside-down!
Take your zipper and place it face-down in the middle of the fabric.
Align the top edge of the zipper with the top edge of the fabric, as it appears below.
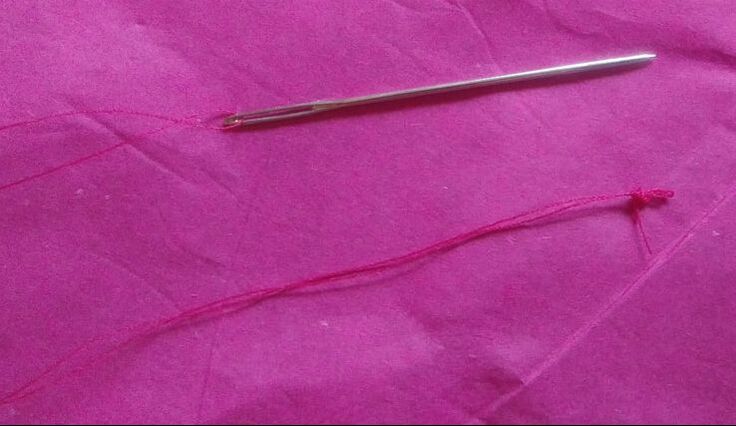
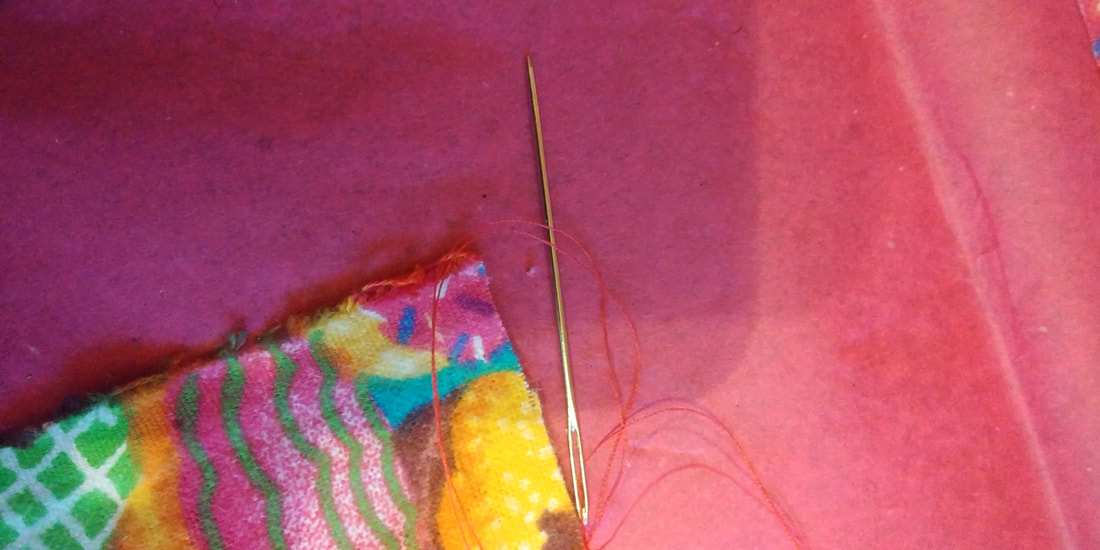
step 3
Thread the needle.
Make sure the thread isn't too short.
Tie a knot at the bottom.
Make sure the thread isn't too short.
Tie a knot at the bottom.
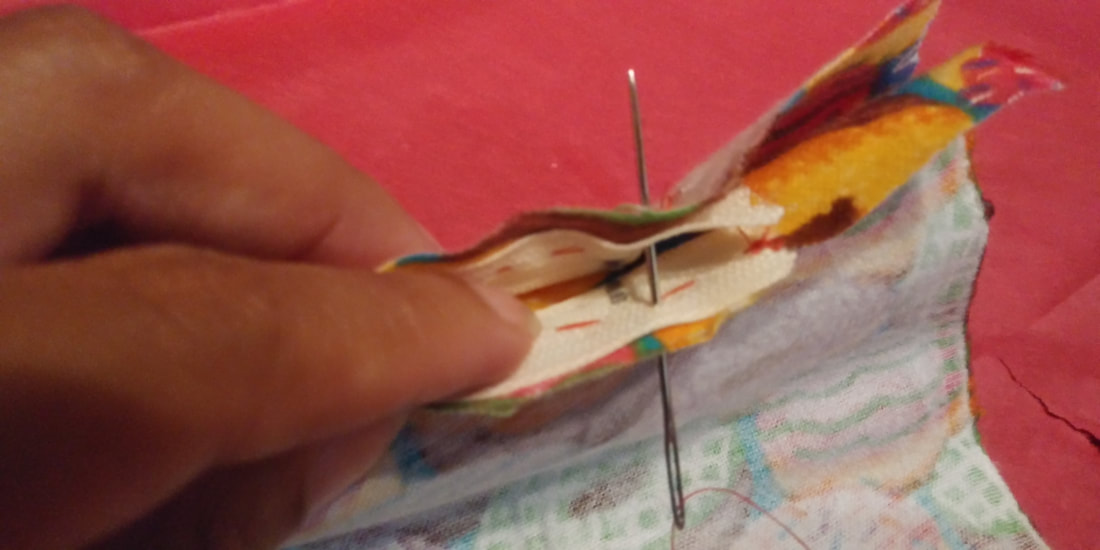
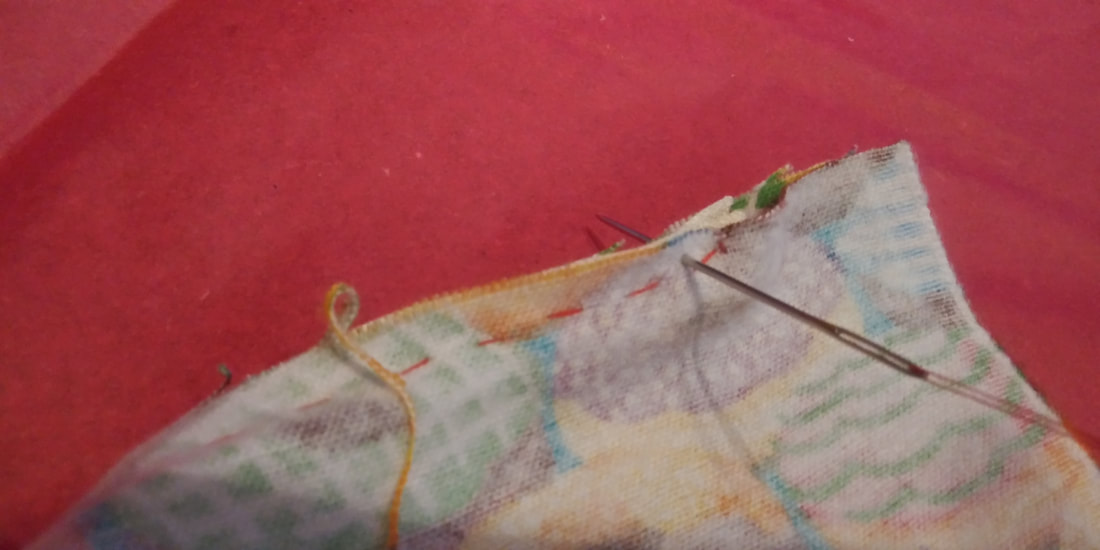
Step 4
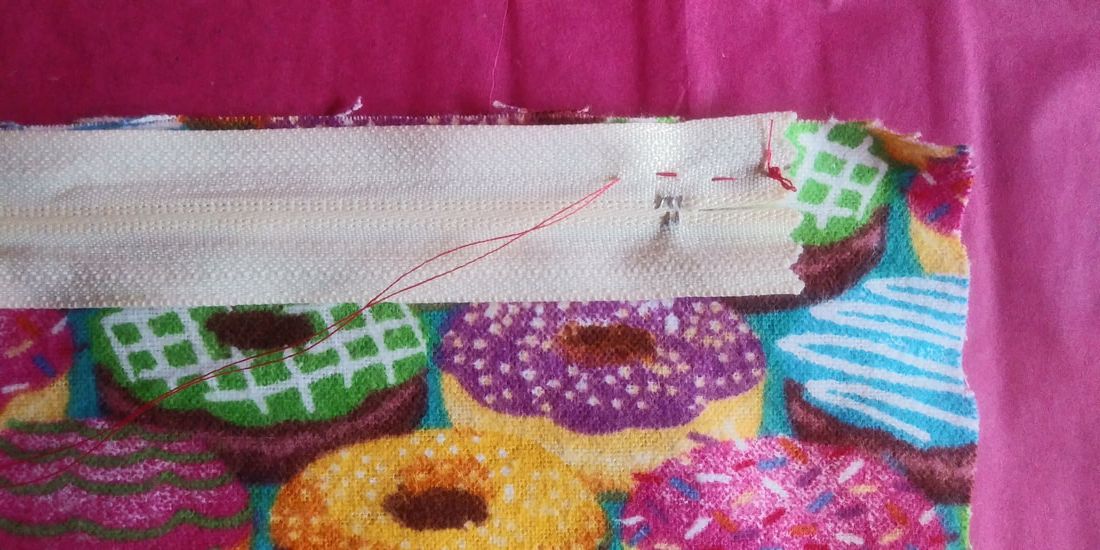
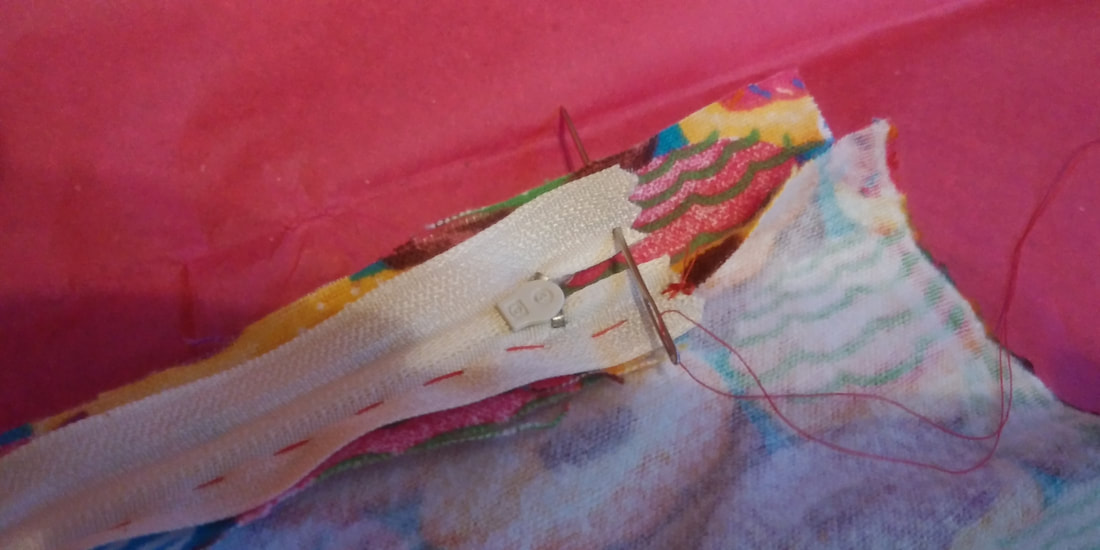
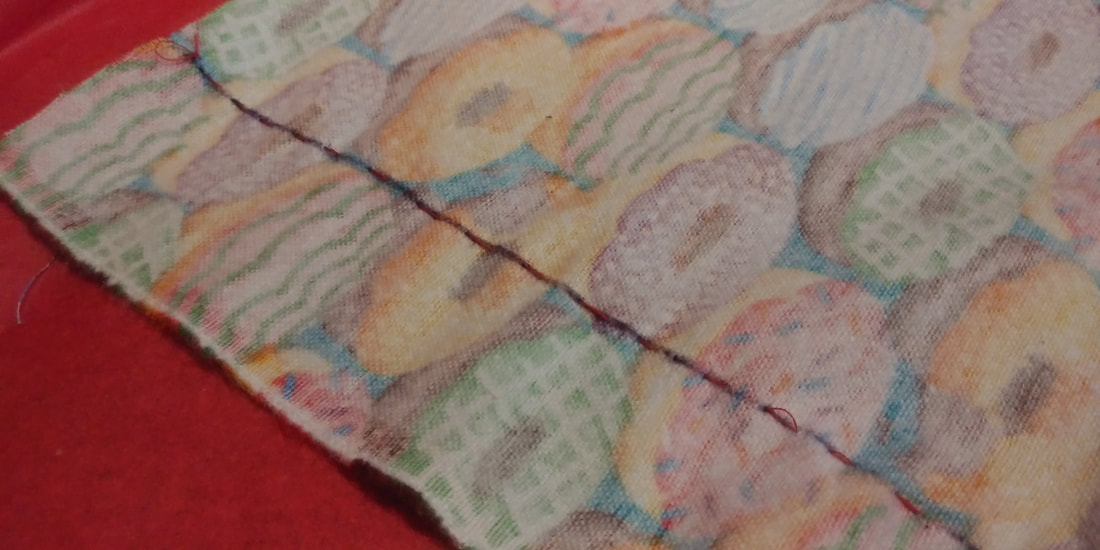
Begin sewing.
Starting at the beginning of the zipper fabric, push the needle through the front and pull the thread through until the knot appears as pictured below.
Sew in and out of the fabric in a straight line going across the entire zipper.
If you have trouble sewing in a straight line, take a ruler and a pencil, and draw a line onto the fabric to use as a guide.
|
|
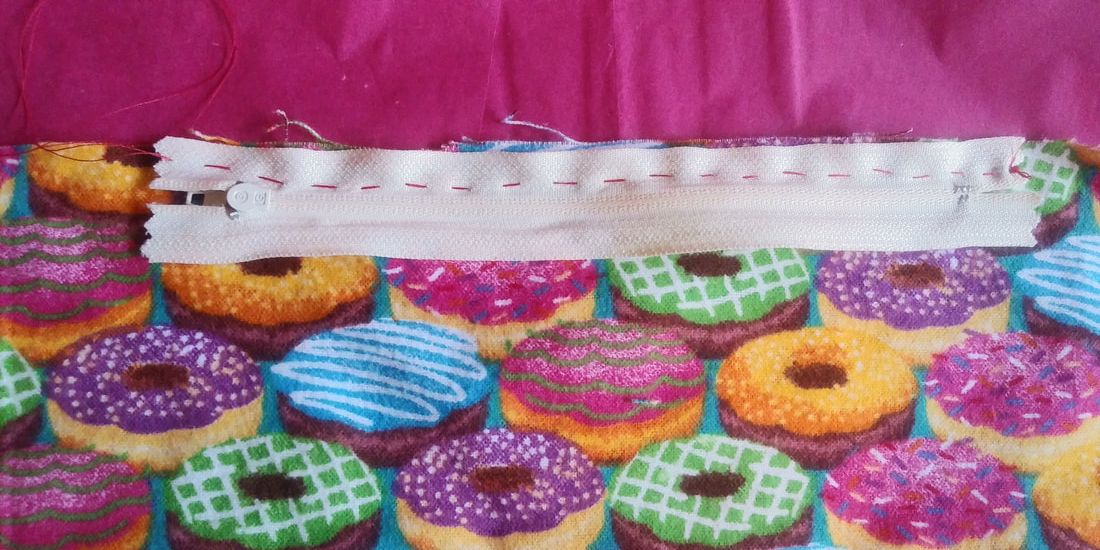
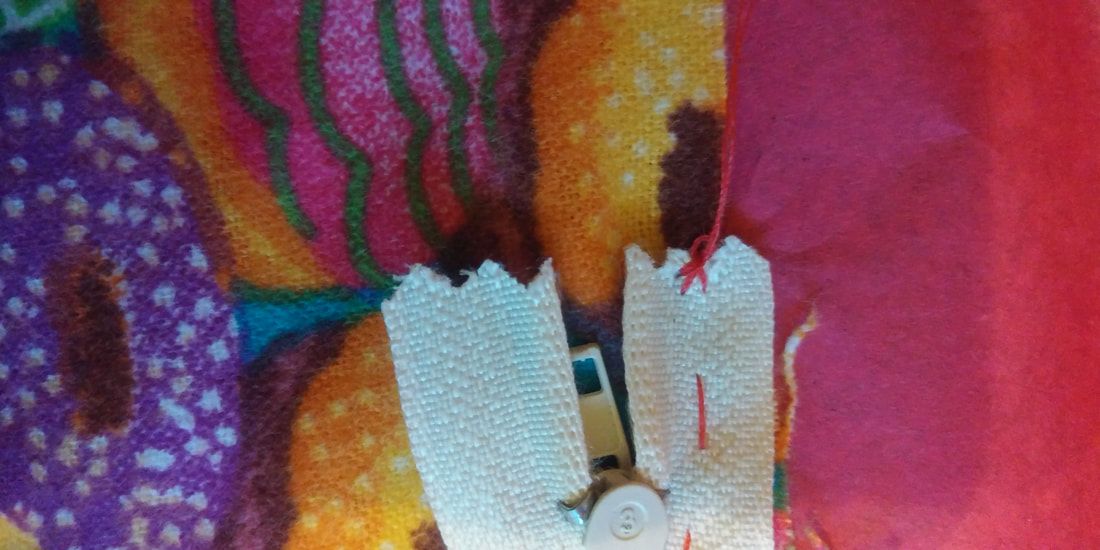
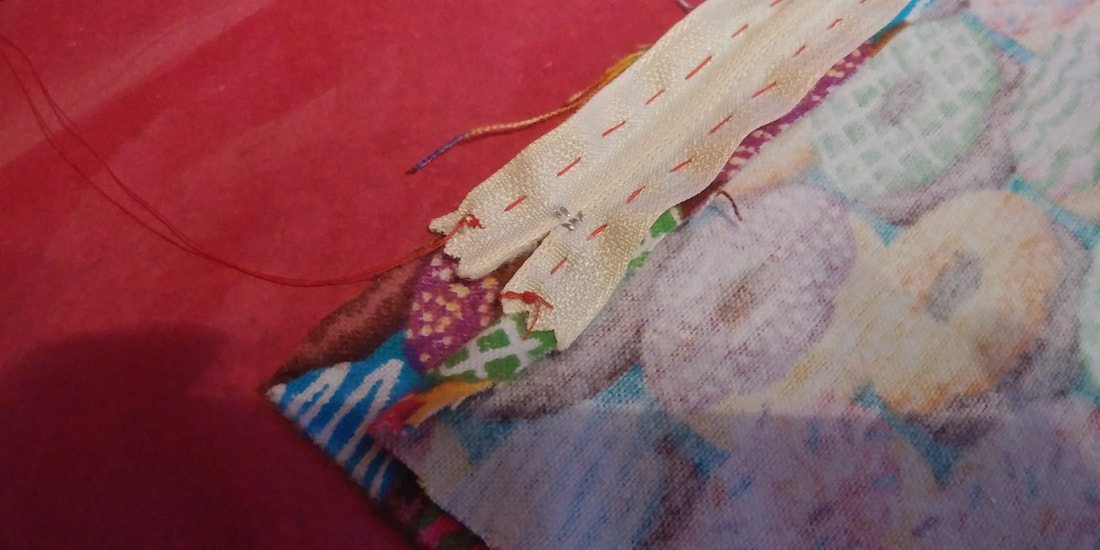
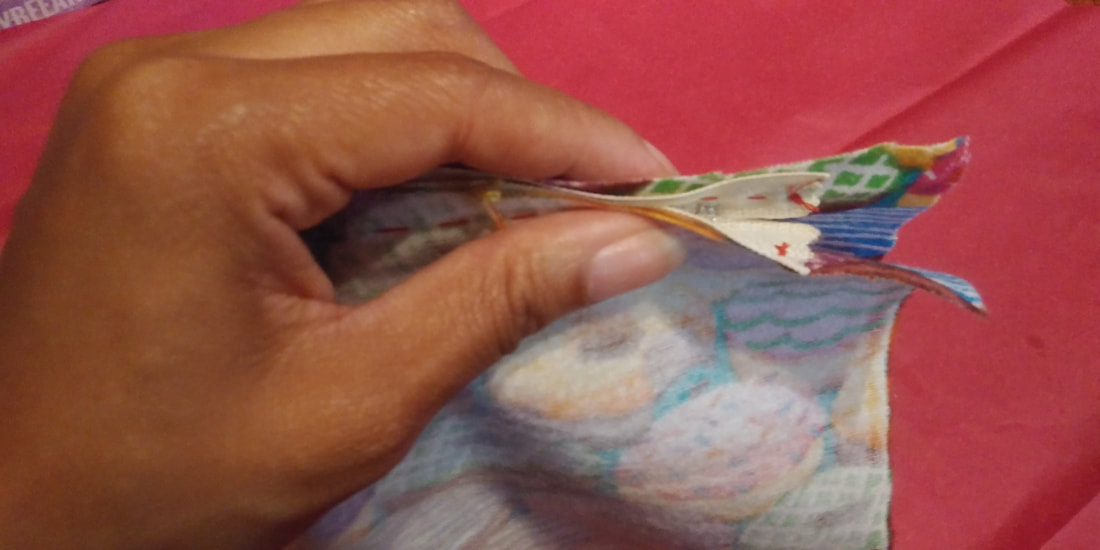
STep 5
Make a double knot.
Once you reach the end of the zipper, push the needle through the fabric close to the last stitch, but do not pull the thread all the way through!
Loop the needle through the thread to create a knot, and pull the thread until it stops.
Repeat this step to make sure the knot is secure.
Cut the thread.
|
|
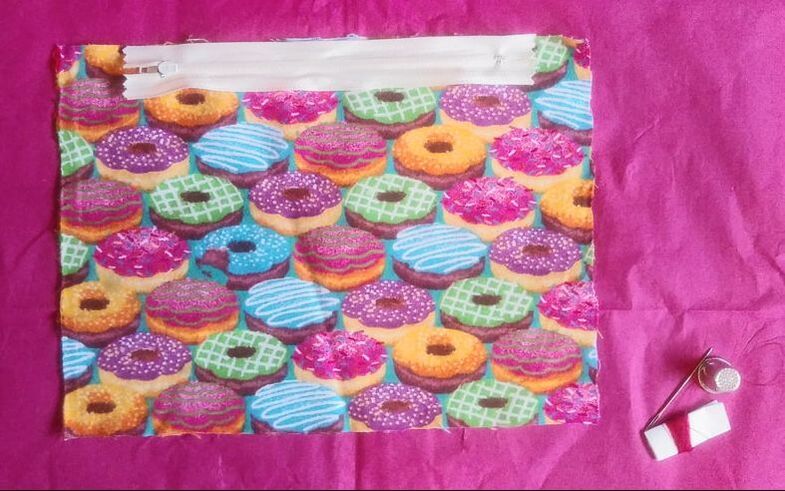
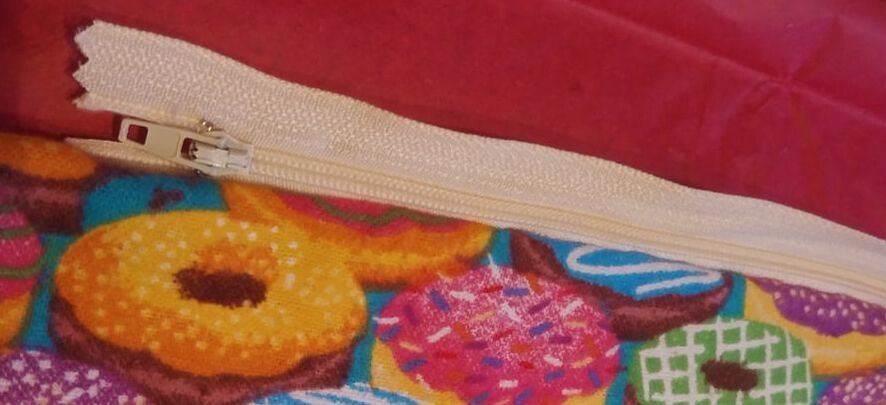
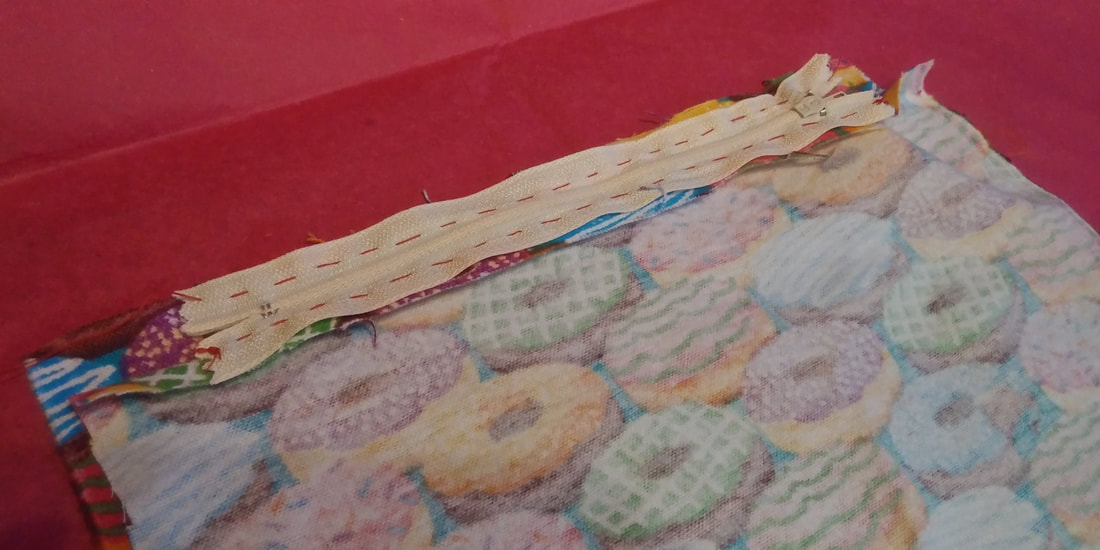
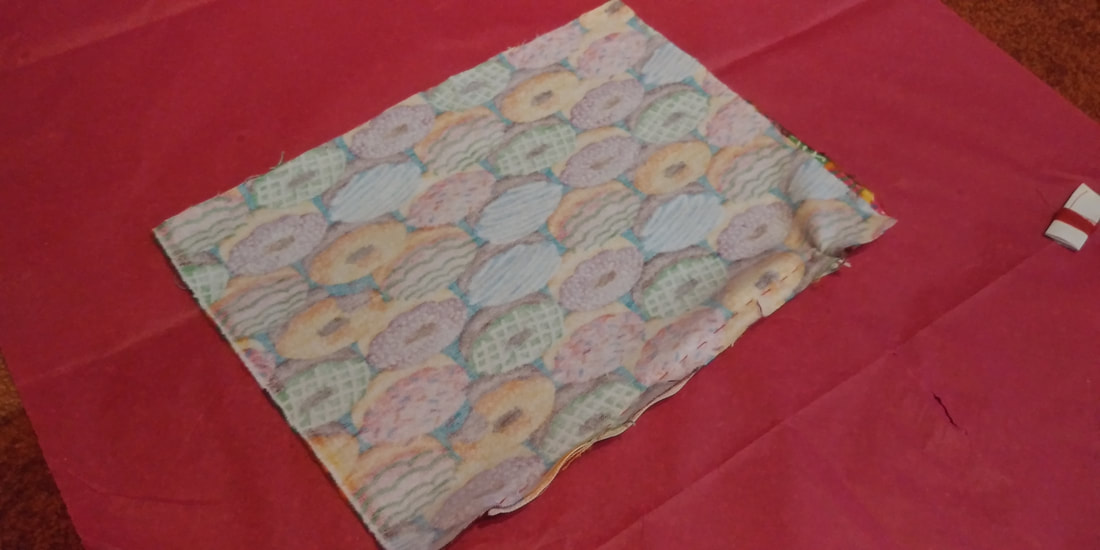
Step 6
You've completed one side!
Flip the zipper over. It should appear as pictured below.
Flip the zipper over. It should appear as pictured below.
step 7
Layout the second piece of fabric.
Make sure it is not up-side down,
Thread your needle again, if needed, so that you start with a long peace of thread. Knot it at the end.
Make sure it is not up-side down,
Thread your needle again, if needed, so that you start with a long peace of thread. Knot it at the end.

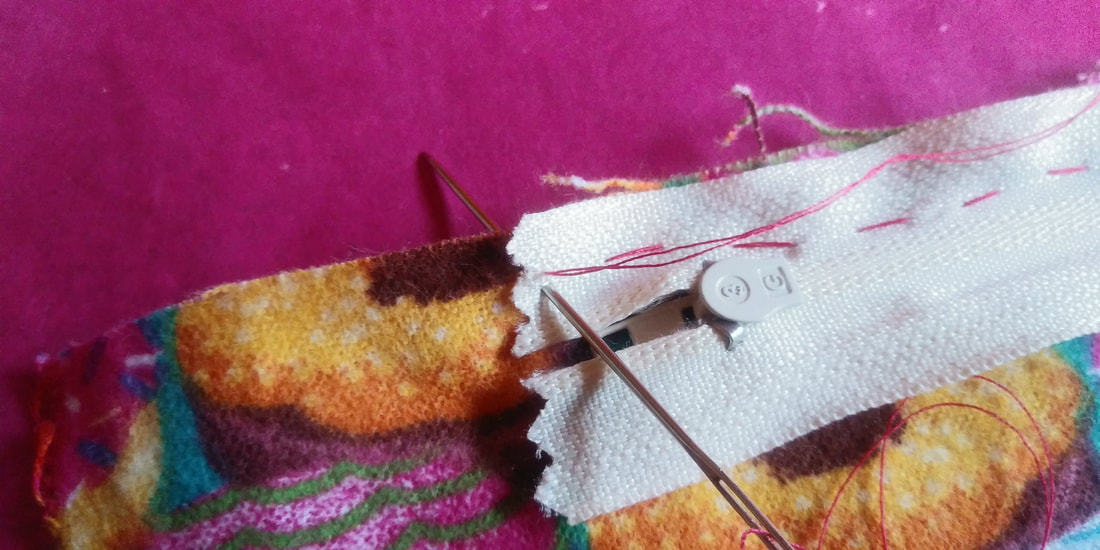
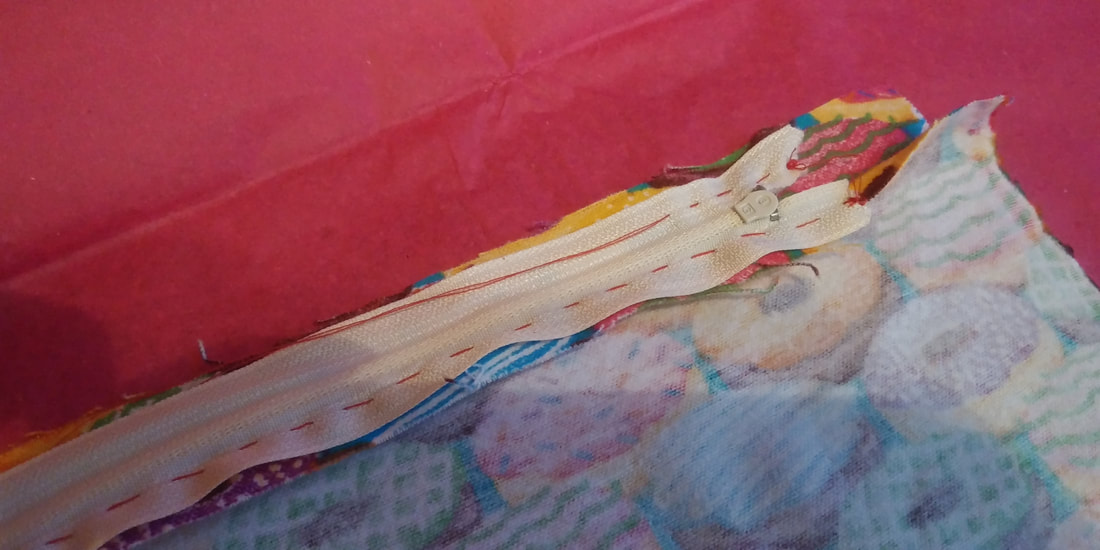
STep 8
Take the sewn piece of fabric (with the zipper) , and place it, face-down, on top of the new piece of fabric.
You should be able to see the back of the zipper.
Align the zipper with the top of the new piece of fabric, as you did before.
You should be able to see the back of the zipper.
Align the zipper with the top of the new piece of fabric, as you did before.
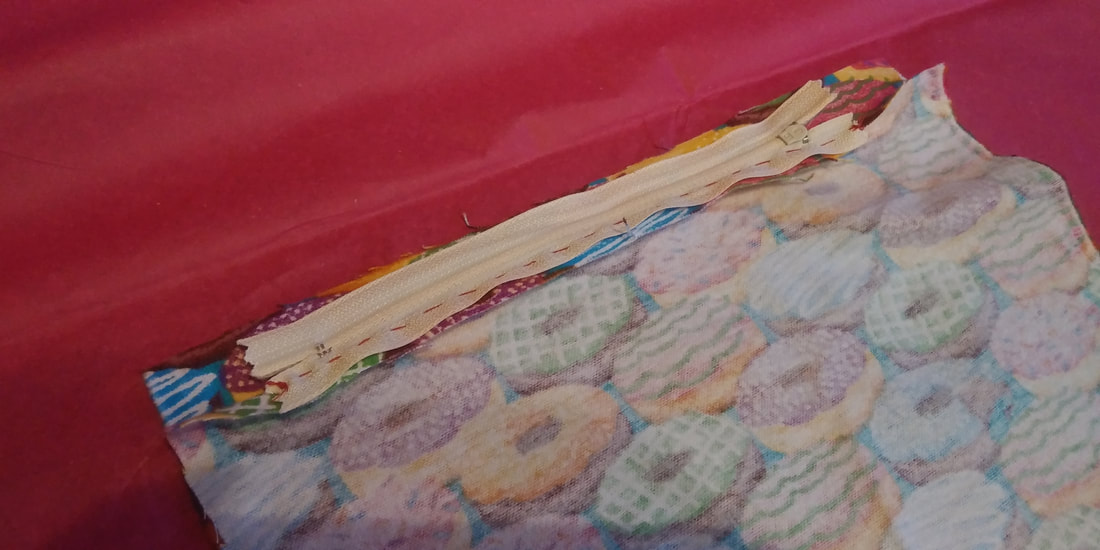
step 9
Complete the zipper.
Repeat steps 4, 5 and 6, above.
Repeat steps 4, 5 and 6, above.
|
|
Day Two
Step 10
Open the zipper before moving on to the next step.

Step 11
Fold one half over the other, as pictured below.
Thread your needle again for the next step.
Thread your needle again for the next step.
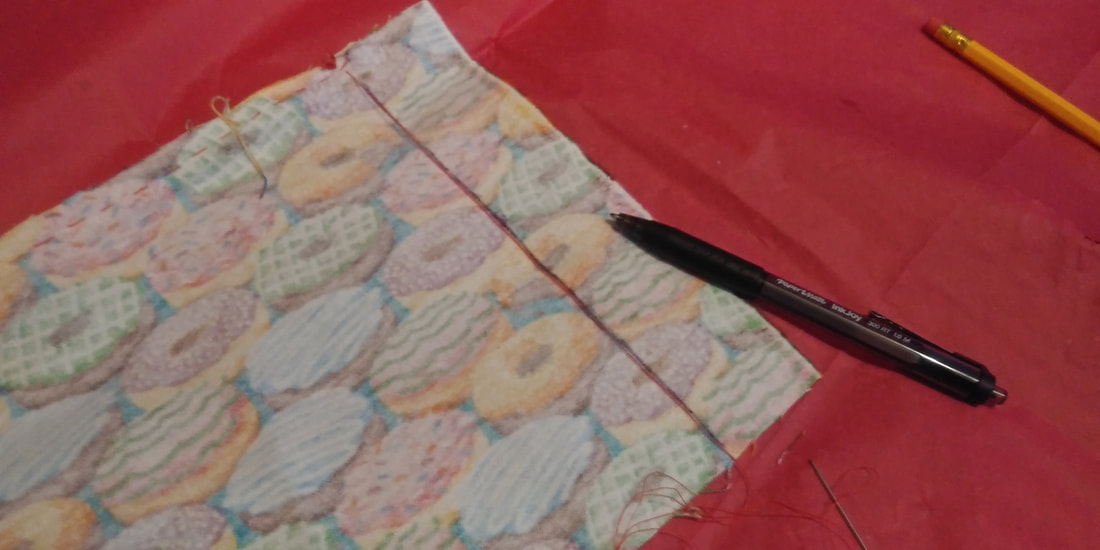
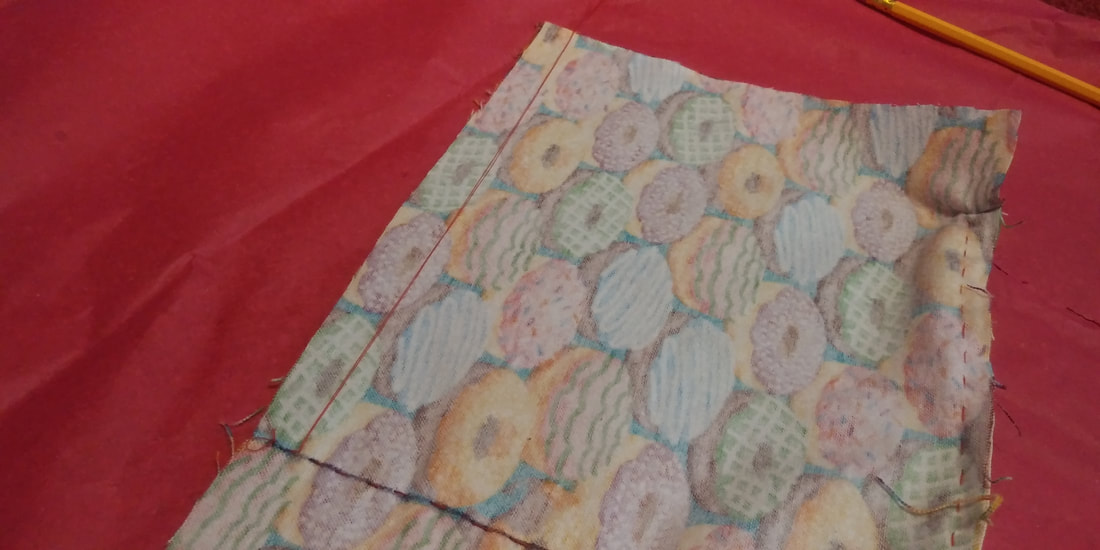
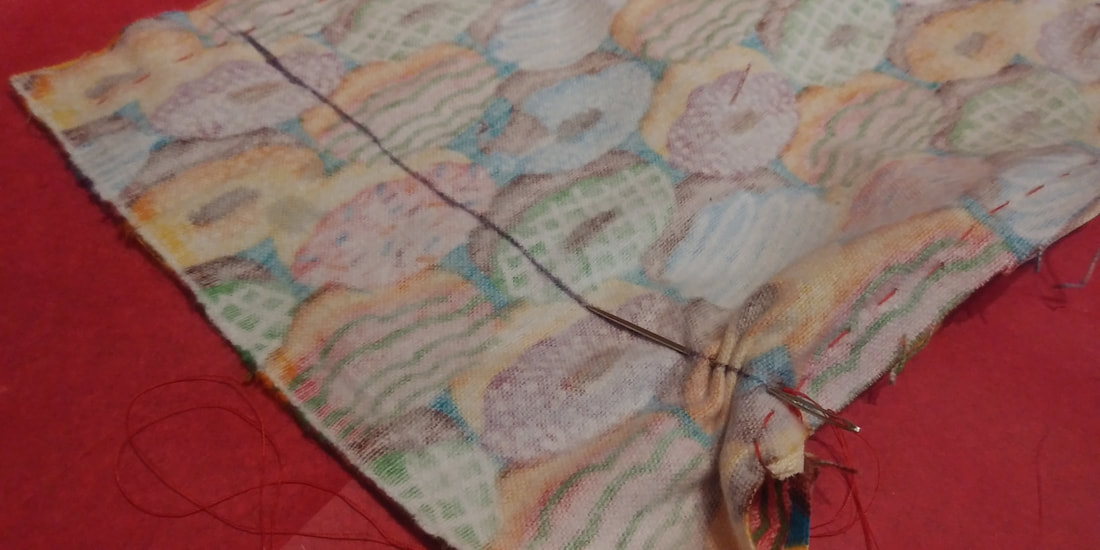
Step 12
A) Fold the fabric in half, EVENLY.
Align all sides as best as you can.
B) Insert the needle next to the beginning of the zipper's hardware (the hard plastic end).
If needed, use a pen to create a straight line down the fabric, as a guide for the next step. See picture below.
Align all sides as best as you can.
B) Insert the needle next to the beginning of the zipper's hardware (the hard plastic end).
If needed, use a pen to create a straight line down the fabric, as a guide for the next step. See picture below.
|
|
|
|
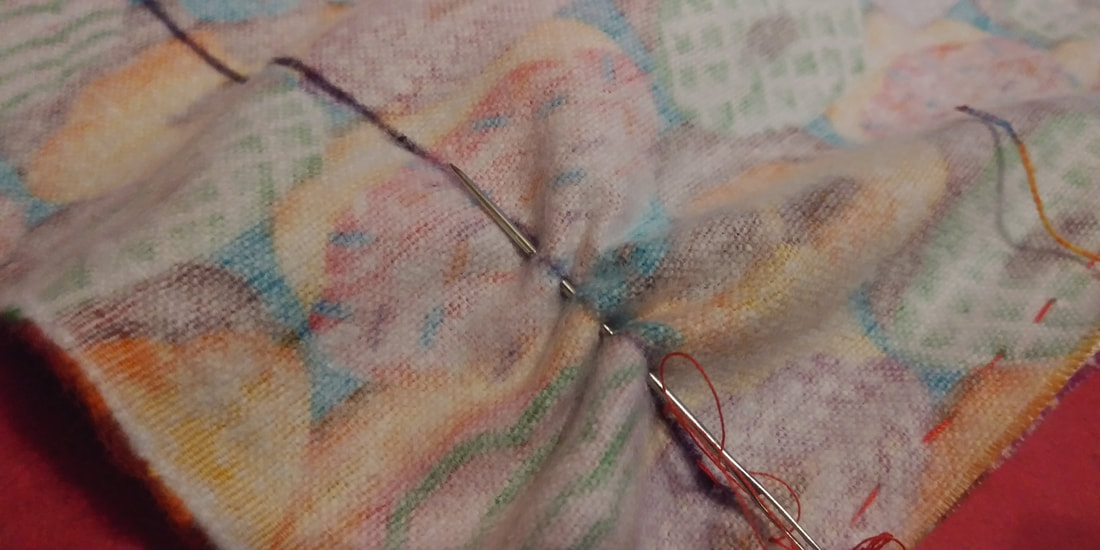
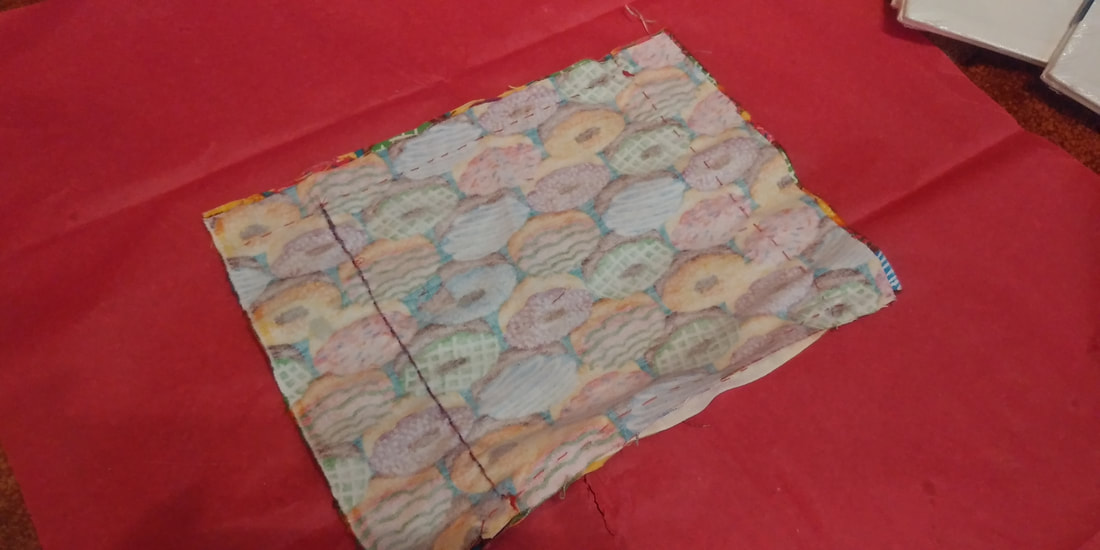
step 13
Begin weaving the needle in and out of the fabric on the straight line.
Pull the thread through, and continue to the end of the fabric.
Make a double-knot and cut the thread,
Pull the thread through, and continue to the end of the fabric.
Make a double-knot and cut the thread,
|
|
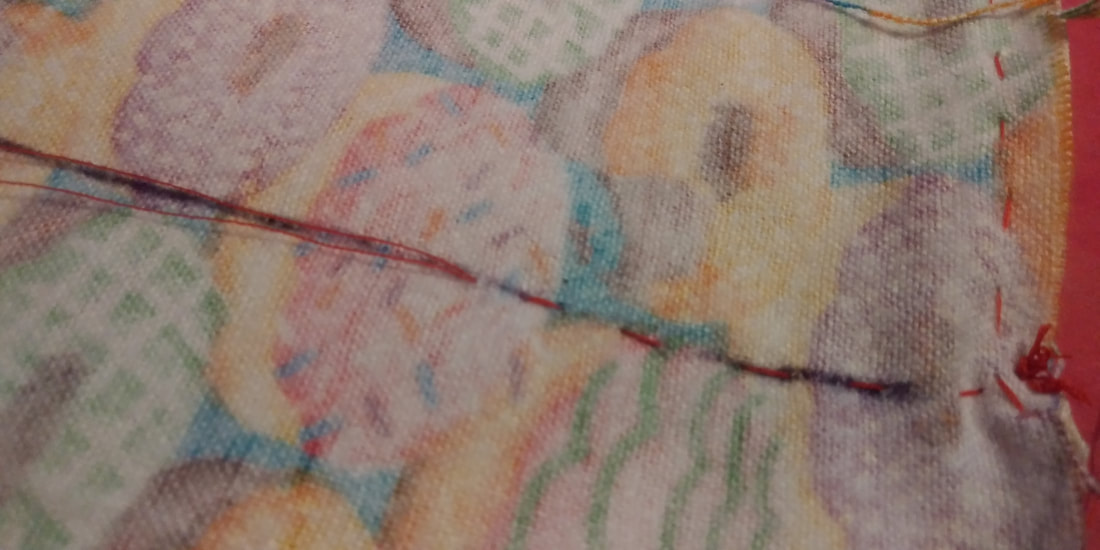
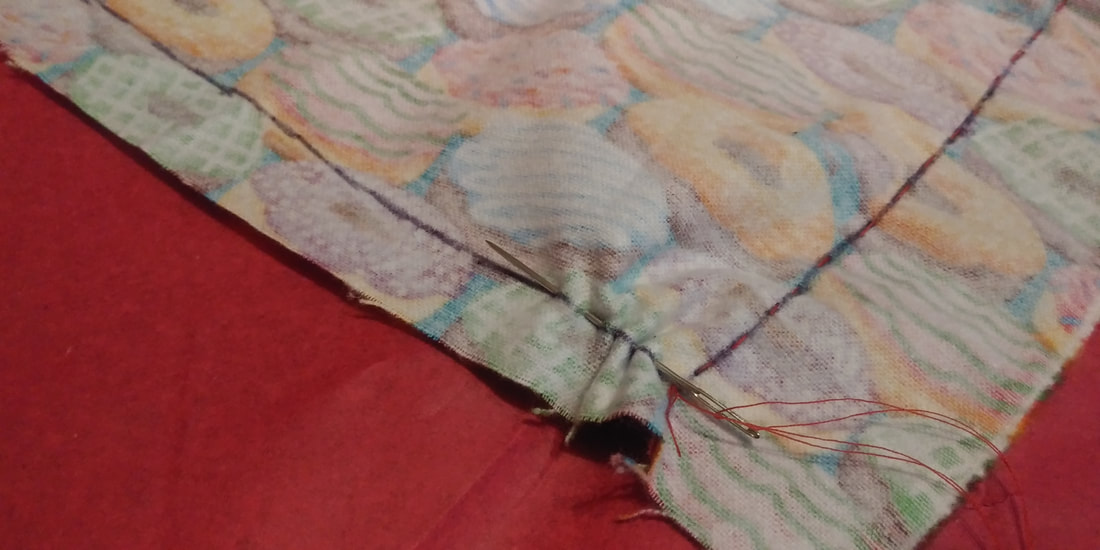
step 14
Sew the bottom of the pouch.
Thread the needle again, if needed, and knot it at the end.
Insert the needle on the line, about an inch from the bottom of the fabric.
Use a pen to make a straight line across the bottom of the fabric, to be used as a guide.
Weave the needle in and out of the fabric and pull the thread through, until you get to the end.
|
|
step 15
Sew the final side of the pouch.
Go back to the top of the fabric, and insert the threaded needle just beside the zipper's hardware.
Repeat steps 12B and 13.
Go back to the top of the fabric, and insert the threaded needle just beside the zipper's hardware.
Repeat steps 12B and 13.

|
|
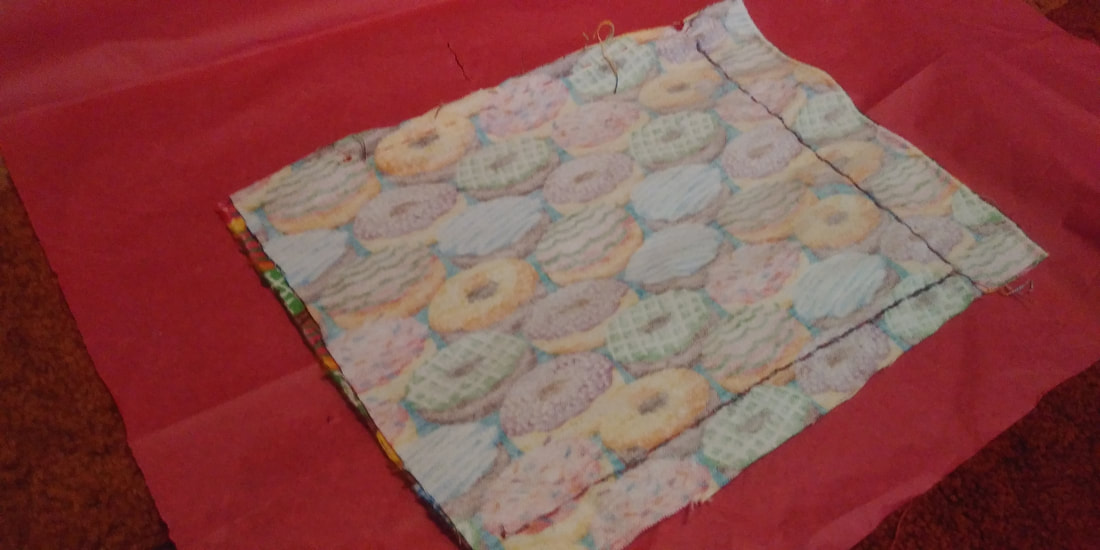
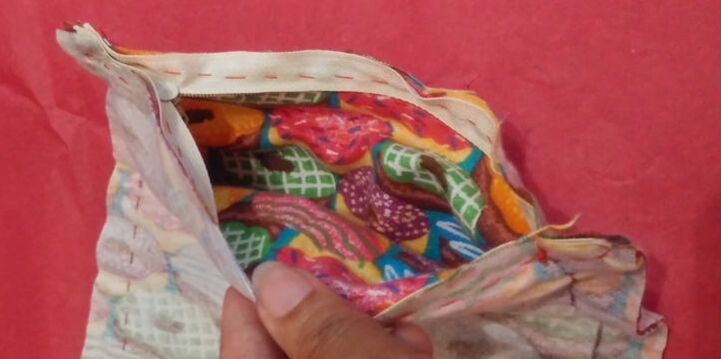
step 16
Grab the opening of the pouch, and pull the fabric, inside-out, to reveal the outside of your pouch.
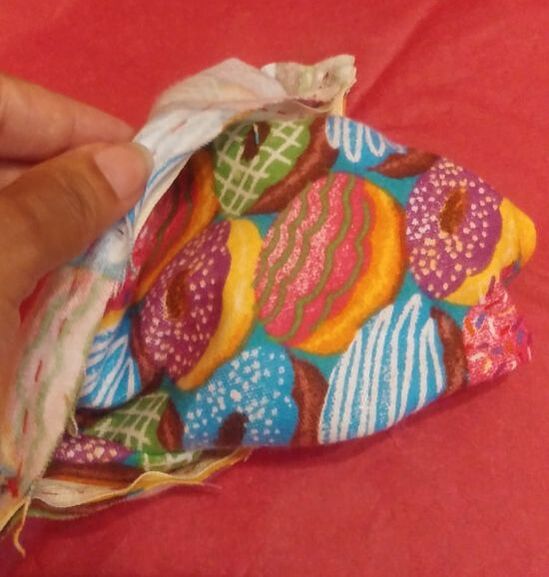

congratulations!
You've completed this sewing craft!
Post your pictures on Instagram with the hashtag #ArtWithAvilda, and you'll be automatically entered to win a cool prize!
Post your pictures on Instagram with the hashtag #ArtWithAvilda, and you'll be automatically entered to win a cool prize!